Before you can start creating email campaigns in Custobar you need to create an email template. The template consists of modules that you can later drag and drop on your email campaigns. With the template designer, you define the template's layout, for example, the width, font, heading styles and default CTA button colour.
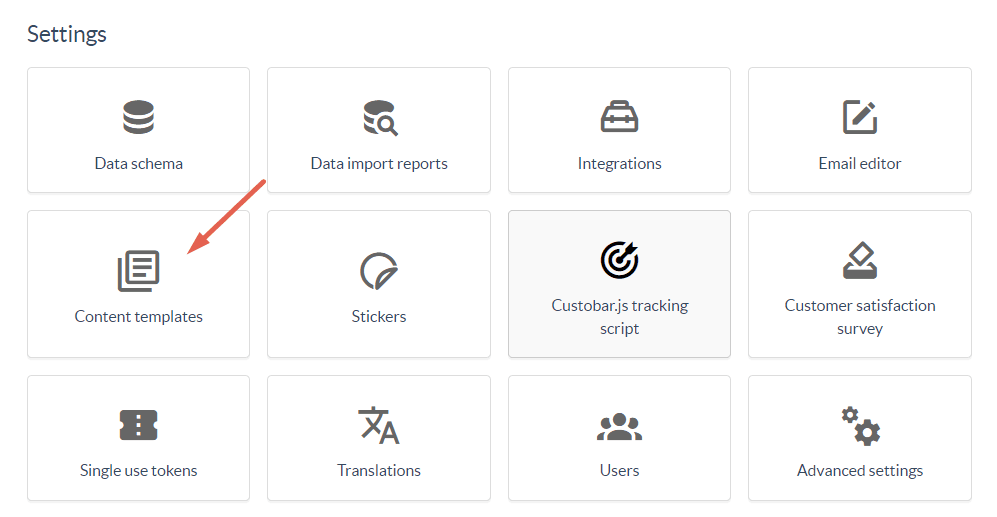
To get started, click on the avatar in the upper right corner, and go to settings. From settings, click "Content templates".
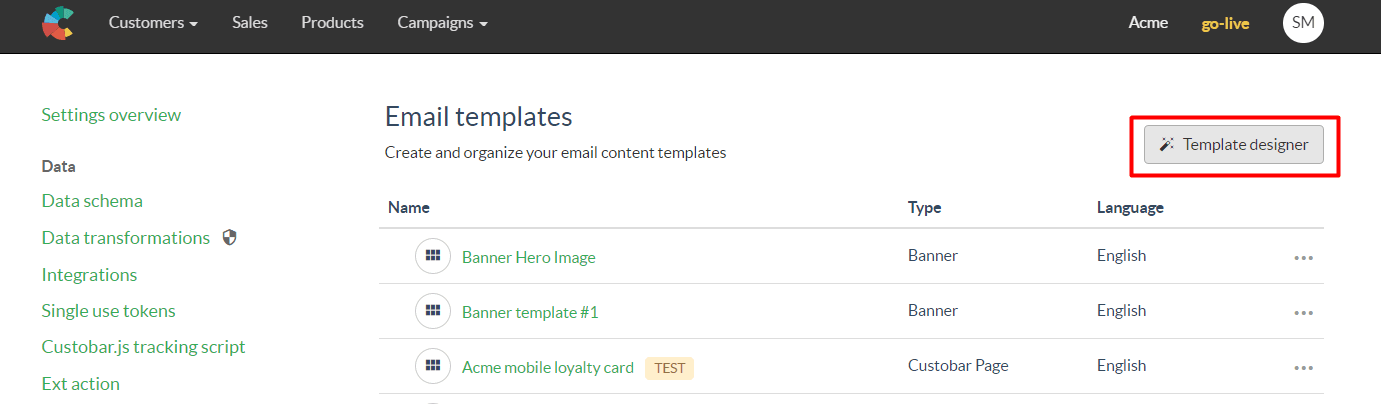
Next, you will find the template designer button in the upper right part of the page. If you have not built templates before, click on "Customize built-in templates".
Then by clicking on the + icon, you create a new template and can give it a name before you move on to the part where you design the template.

Then let's go ahead and click on the template you just created. In this case, I called mine "Template for the guide".

The designer will then pop up on your screen.
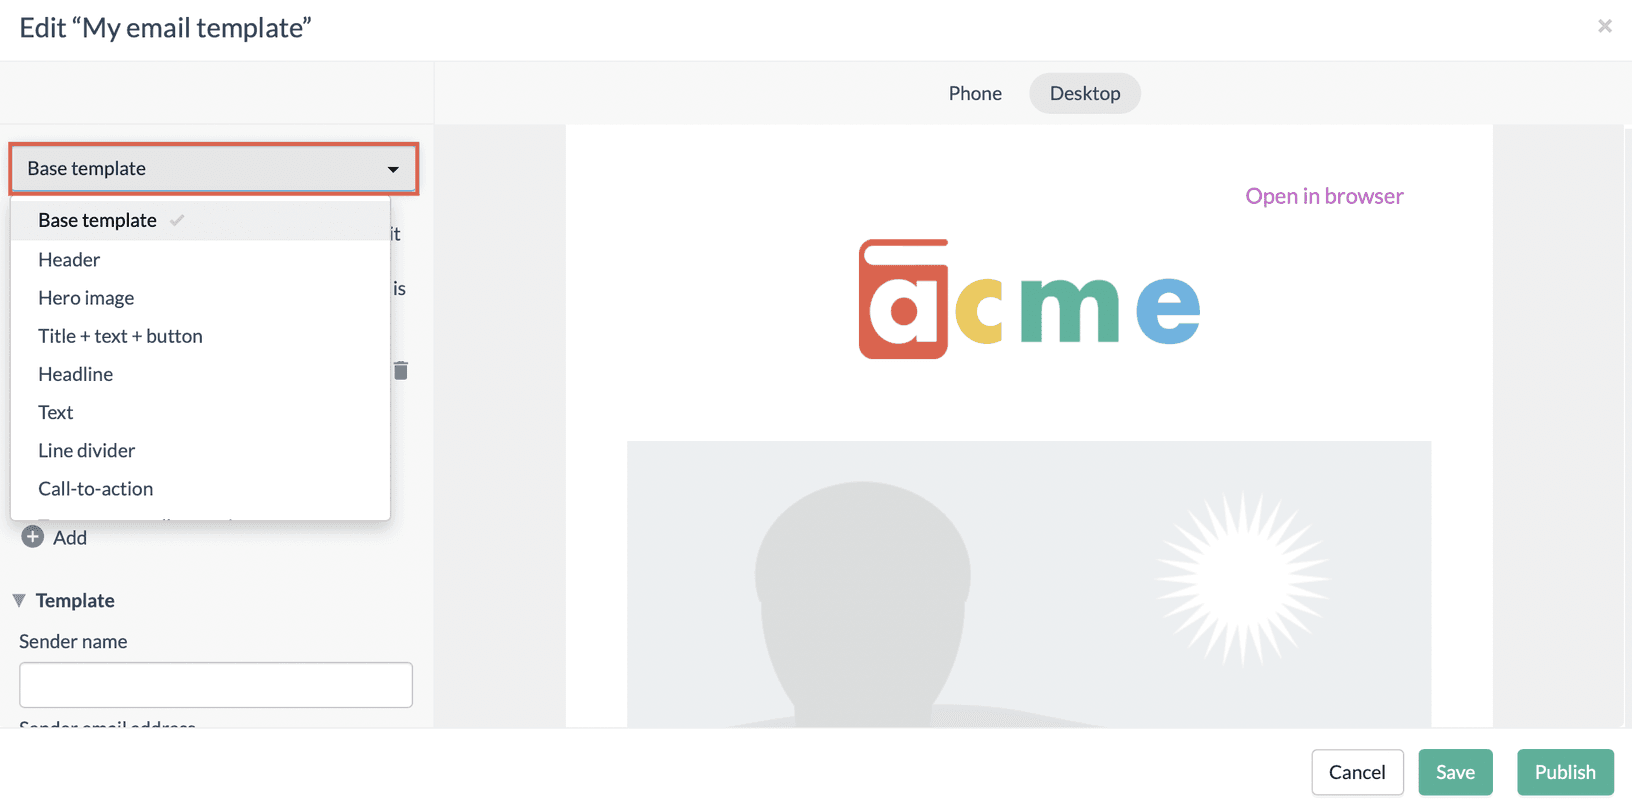
On the dropdown list, you can find all of the different modules that are created with this template. If you choose "Base template", you modify all of the modules. If you want to modify a single module, you can select the desired module from the dropdown list. Tip! The easiest way is to modify the Base template first and then see if you need module-specific changes.
Note! Whilst you modify the template on the left, you can see the changes on the editor.
Now let's go through the different editable parts of the template. We are now in the "Base template" view.
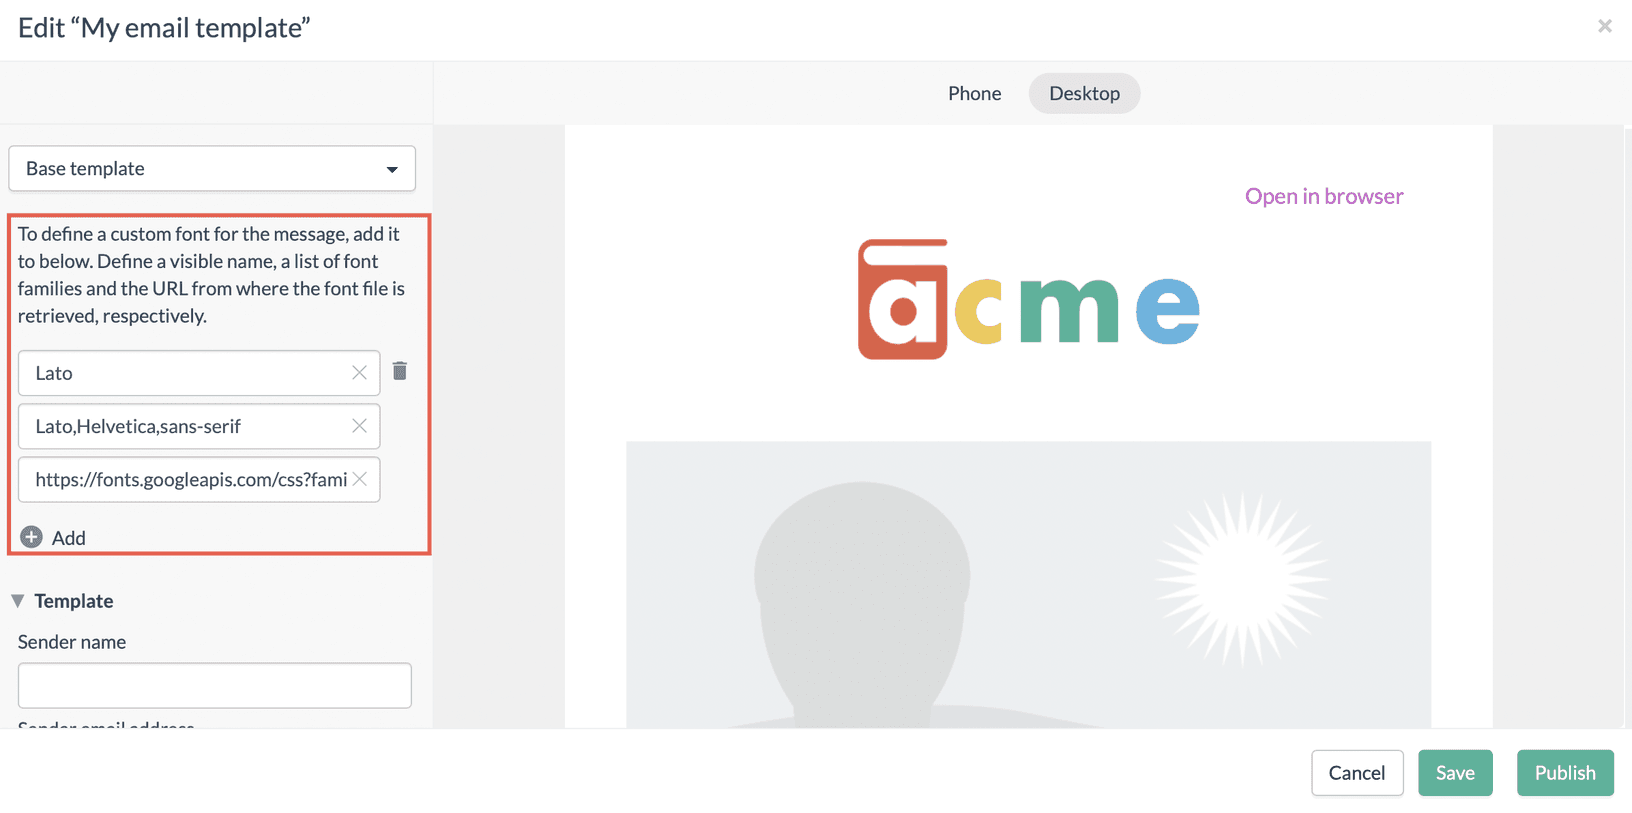
The first section on the left is where you define your custom fonts if you wish to use those. You add the font's name and the family of the font and then the URL from which the font is fetched. We have the Lato font there by default as a guide on how to do it.
Note! If you wish to use default fonts, then scroll down in the sidebar and look at sections Font, Price and Heading 1-4.
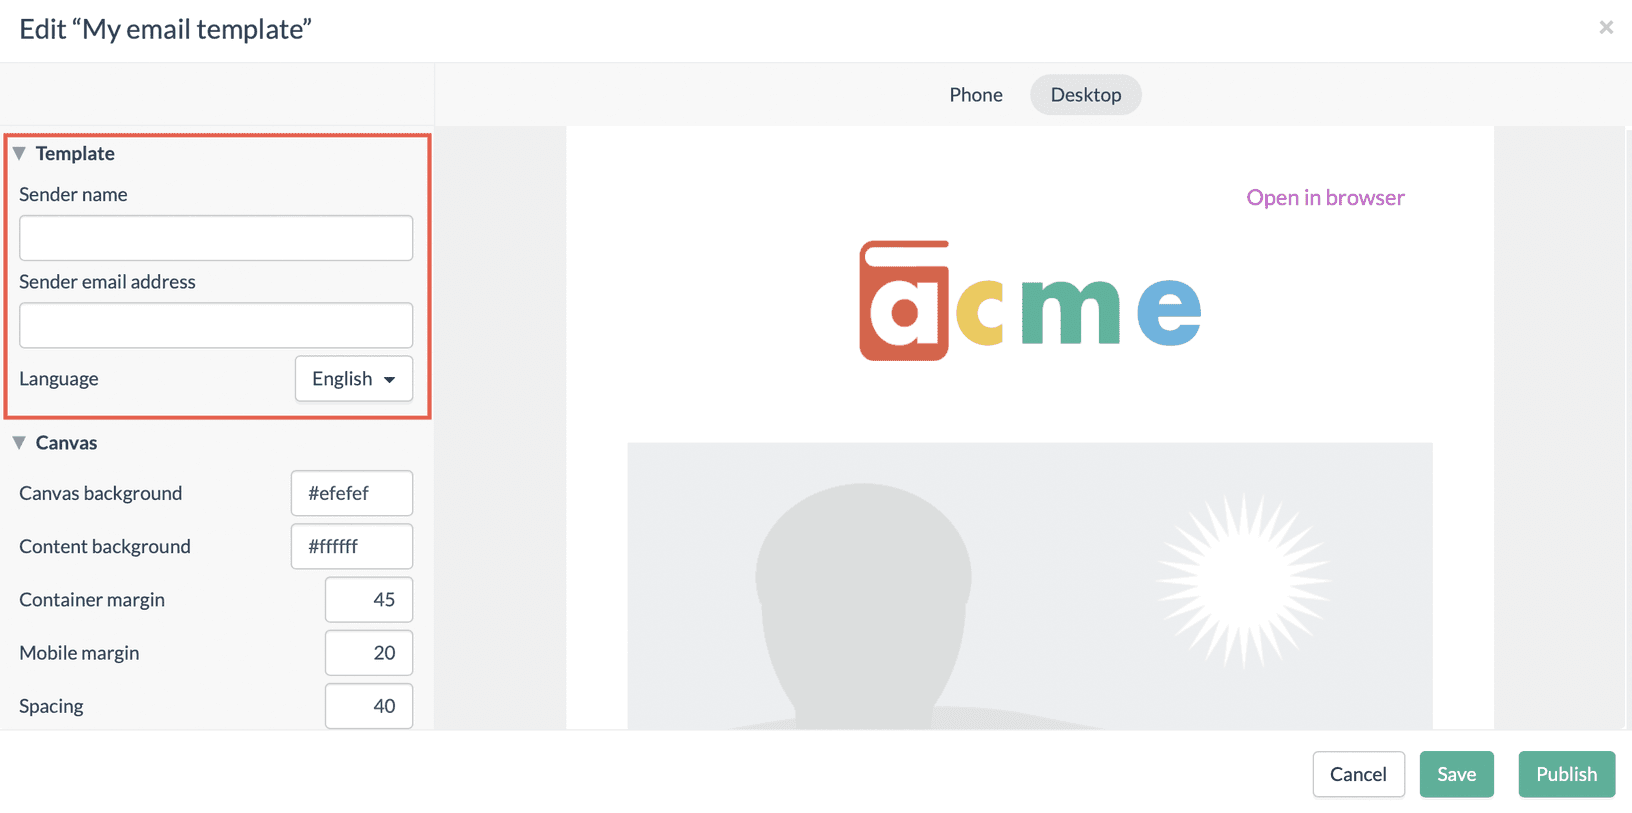
Next up is a section called "Template" where you can set the default Sender name and Sender email address for this particular template. It is ok to leave them out or change them later when sending out the email.
Here you can also set the template language.
The next section, "Canvas", is where you decide the layout for the base of the template, such as width, background colours, and margin settings.
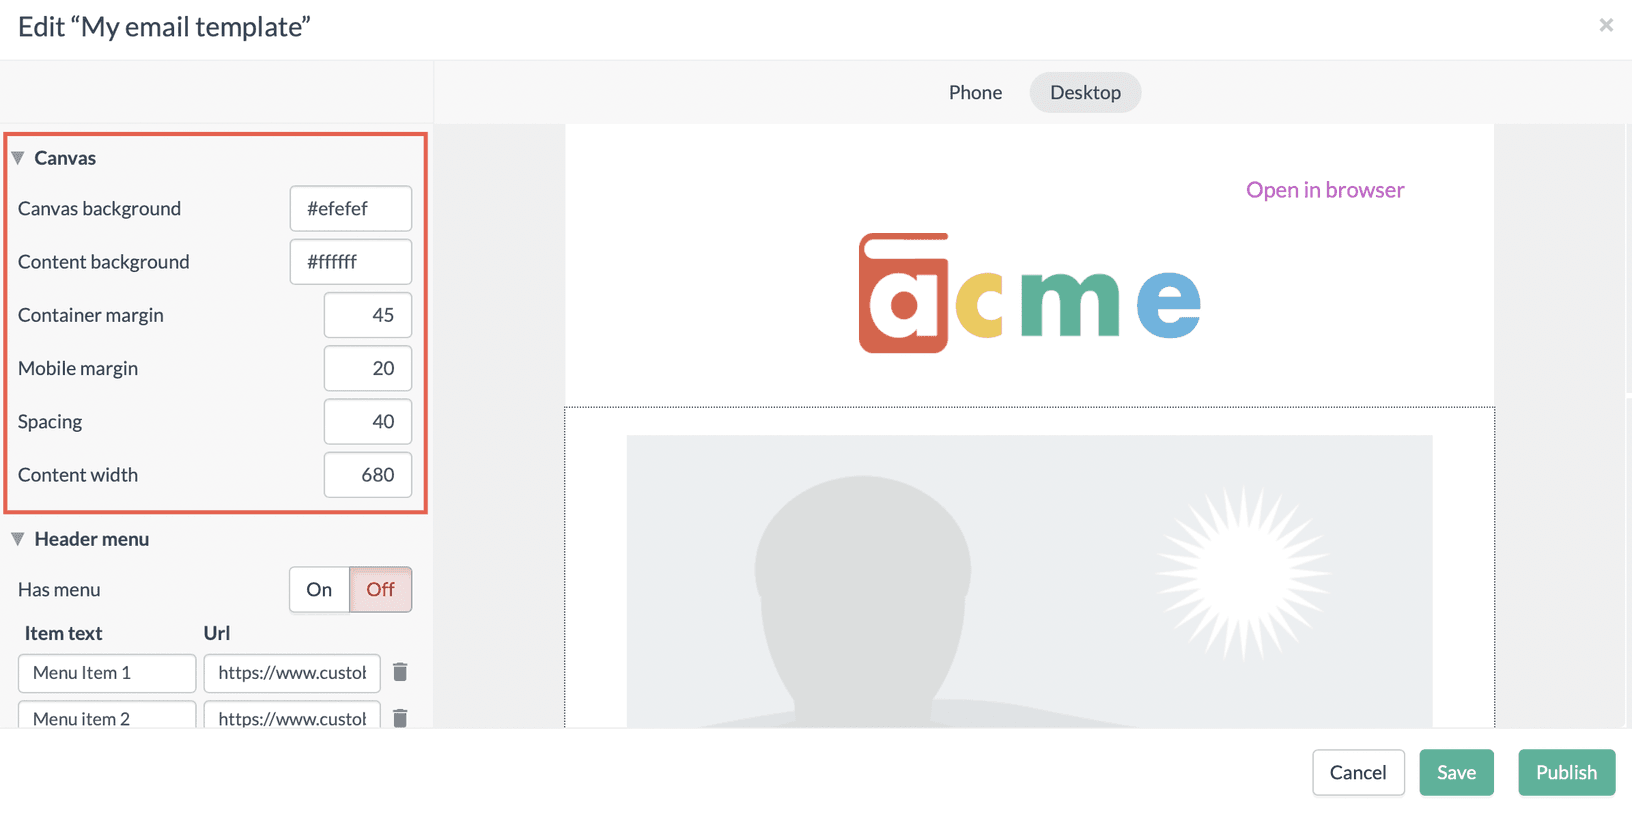
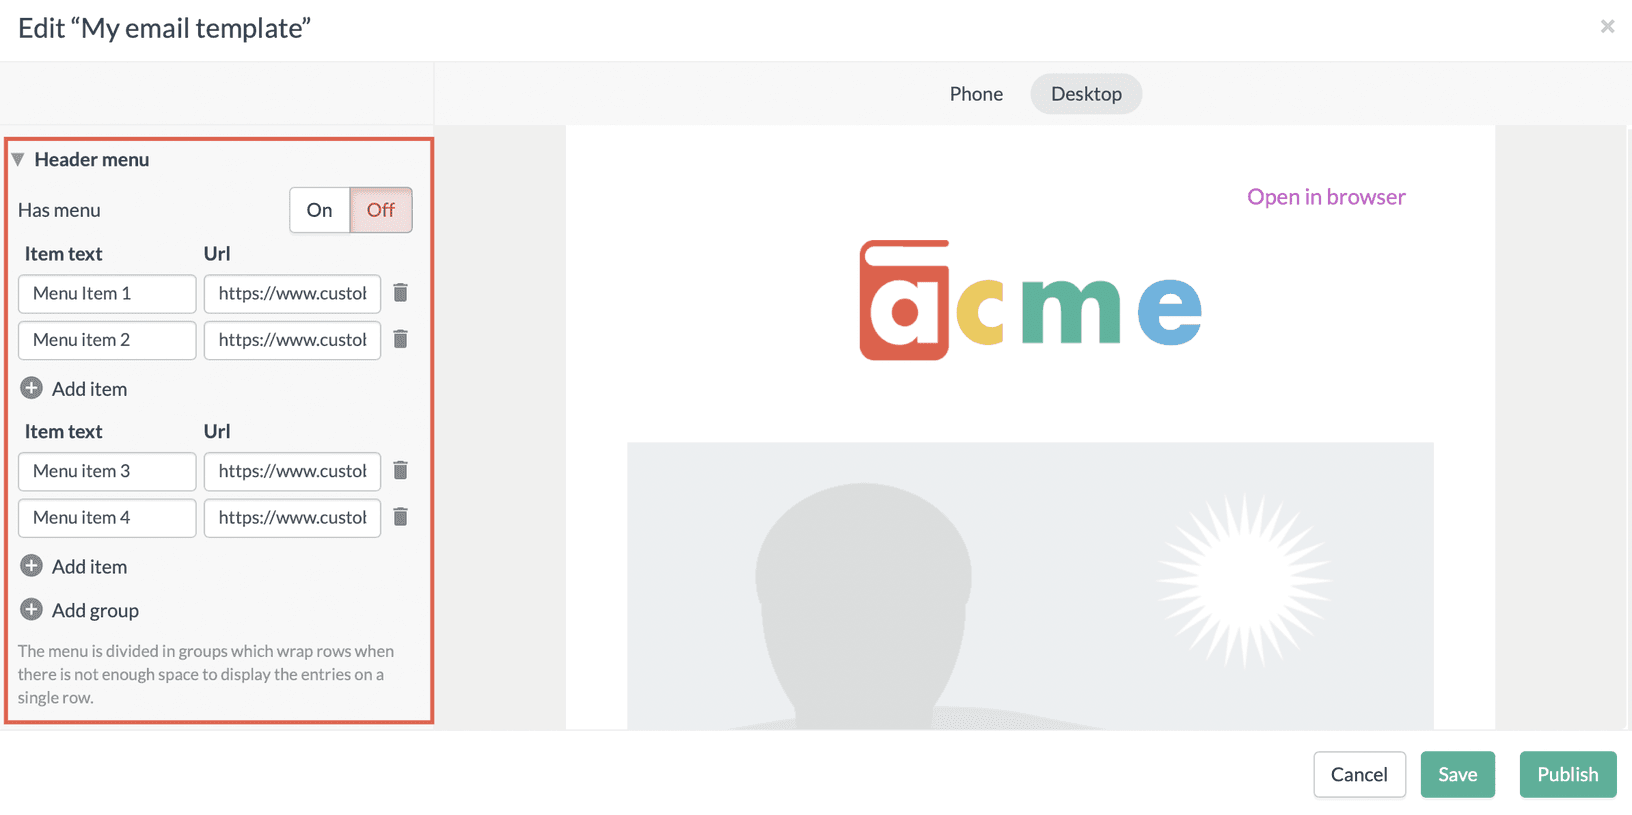
Then we move to the "Header menu" section where you can choose to add a menu to the header of your email template. It's turned off by default, but try turning it on to see what the menu looks like.
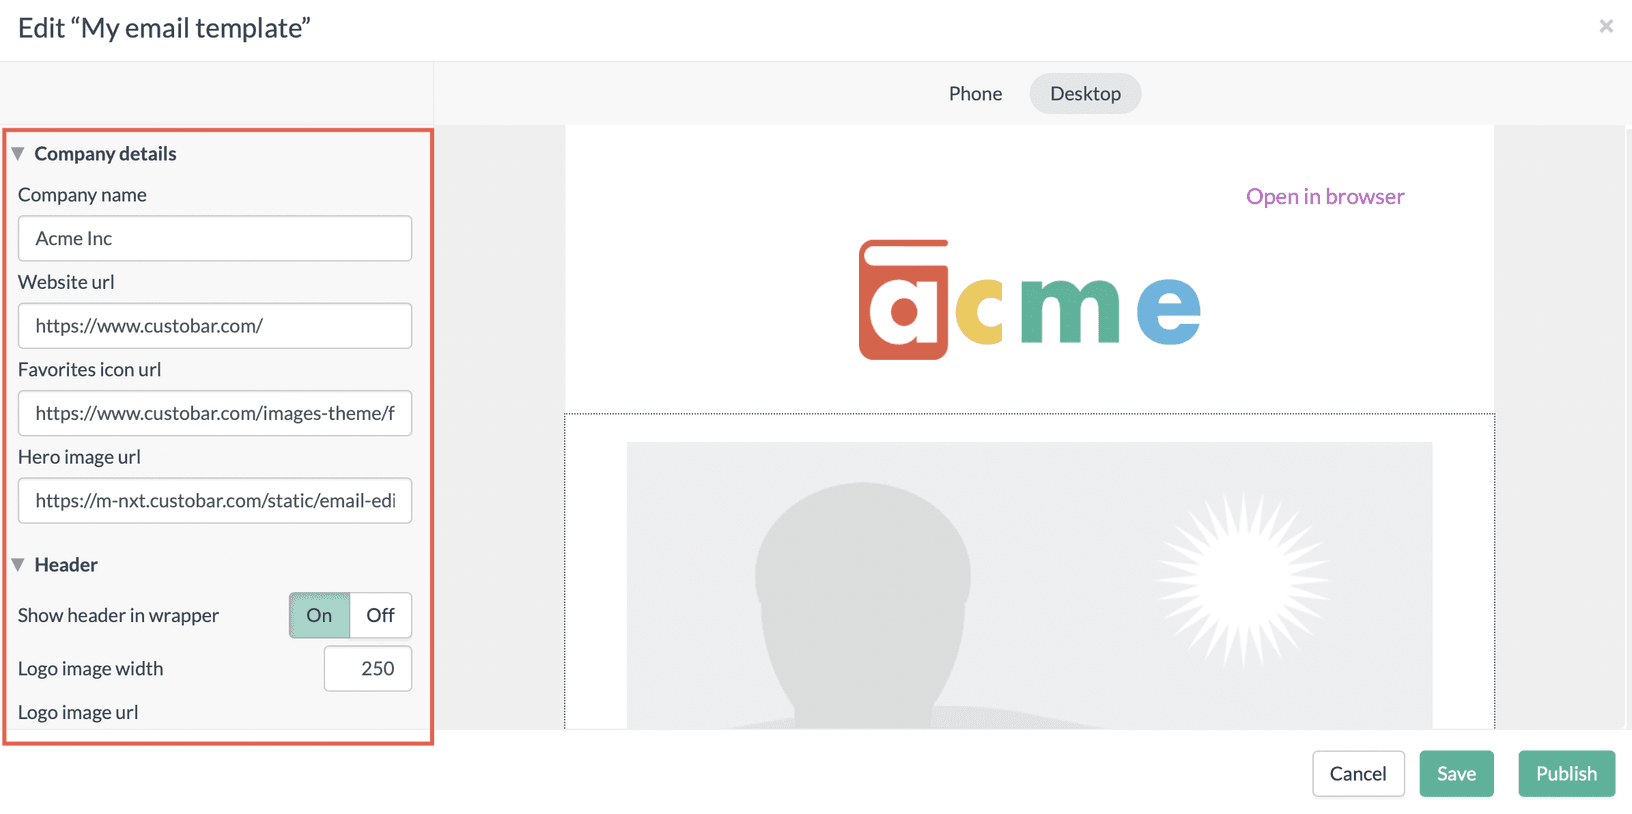
Next up we can find sections called "Company details", "Header" and "Footer". Here we can define the header and the footer information, including the hero image and logo. To get the URL for the Hero image, you can upload that to your image library by going to campaign in the navigation bar and clicking on Image library.
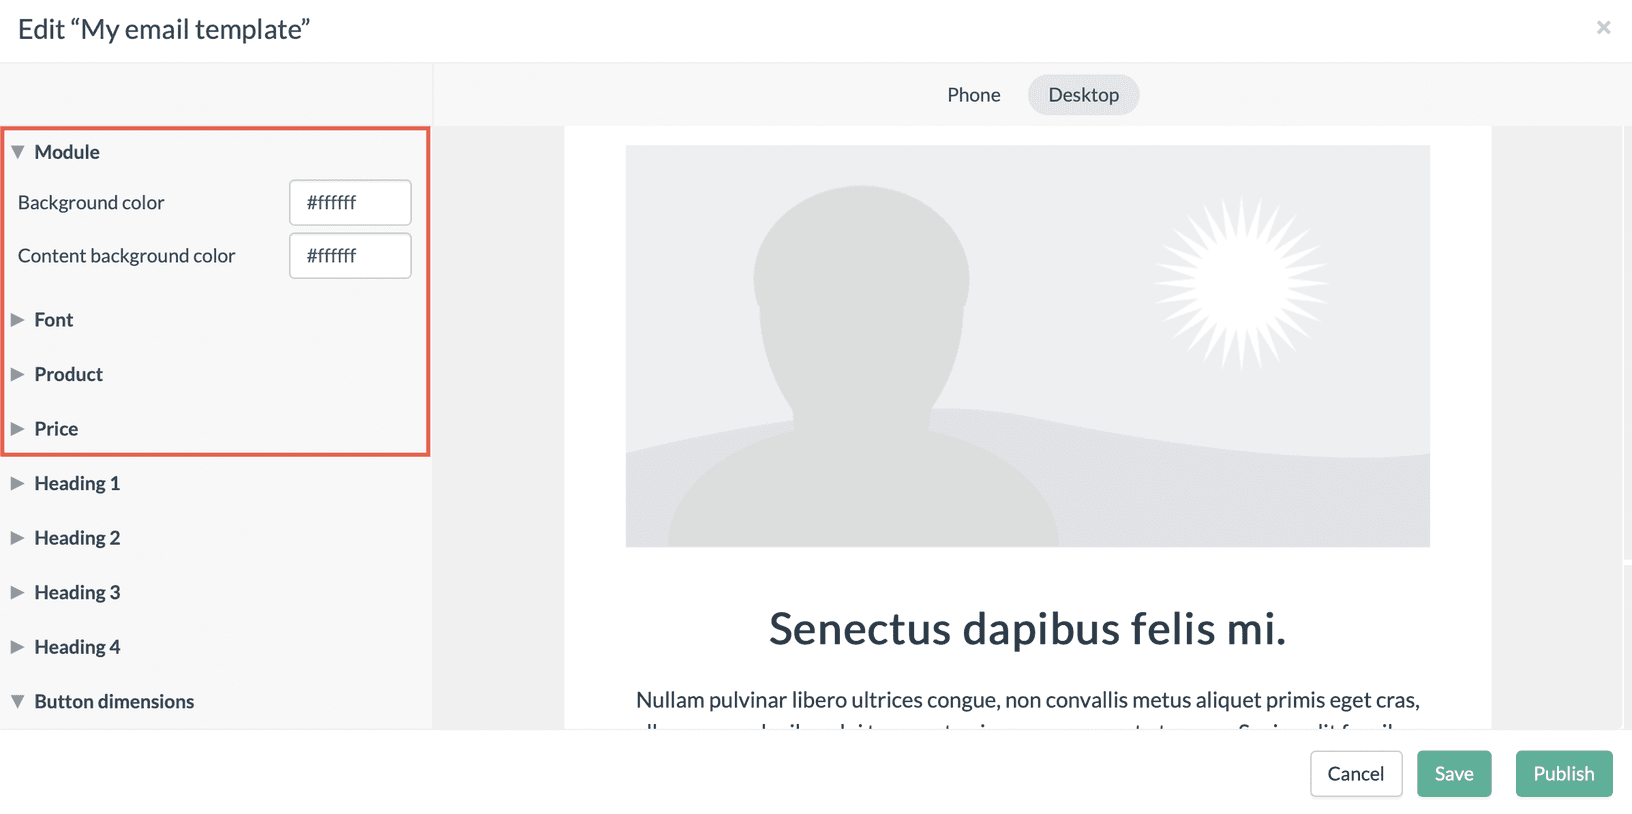
In the next sections, you get to define the layout for your modules, such as fonts, background colours, price colours and so on.
Note! If you wish to use custom fonts, then scroll down to the top of this guide to see how they are added.
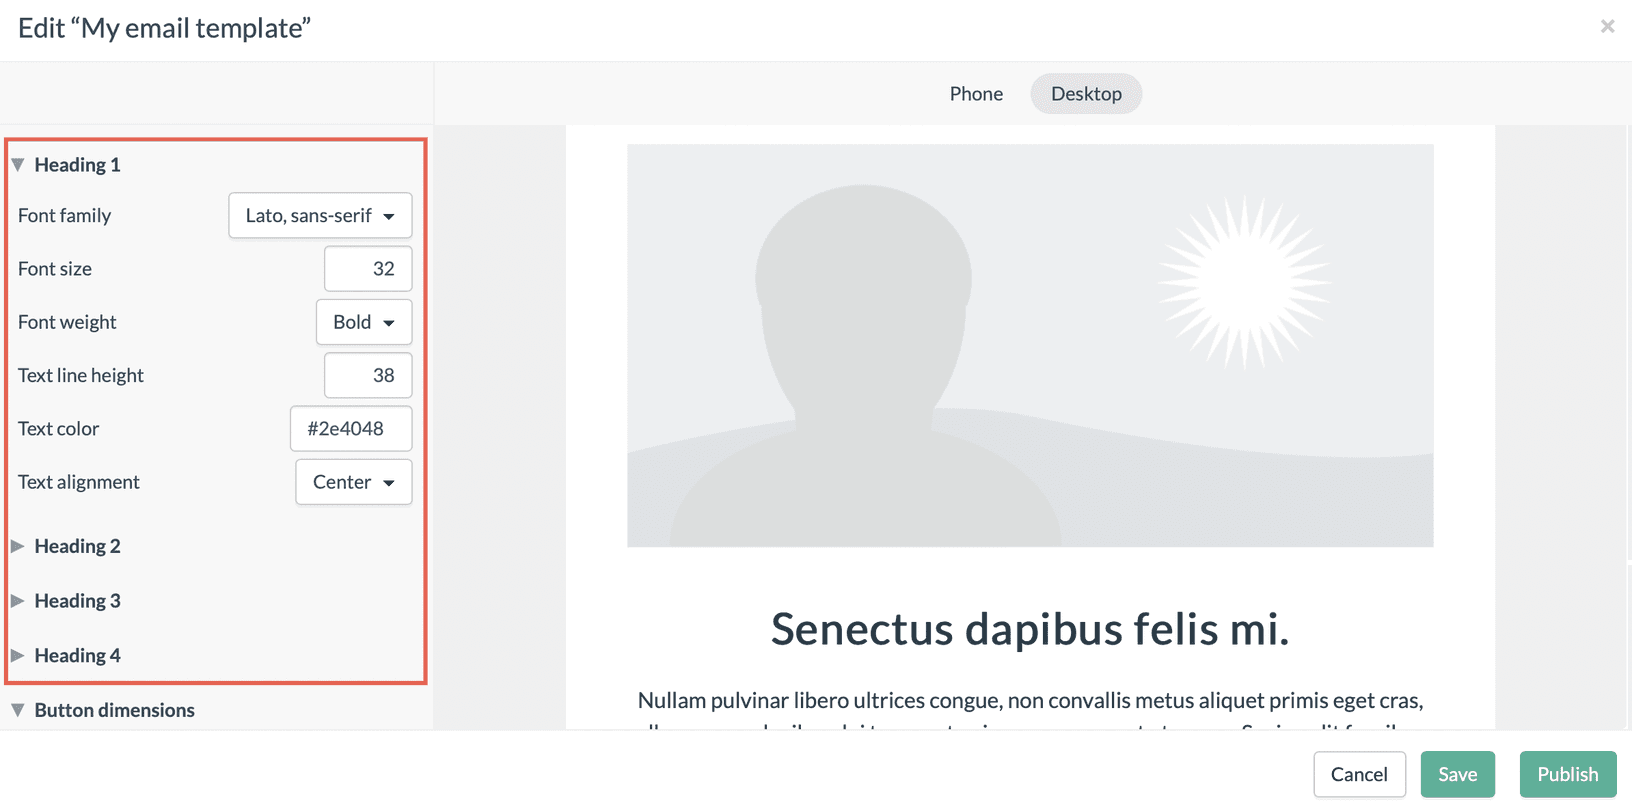
Moving forward in the sections next one up is where you get to define the layout settings for all the headings on the template, so when using a header module or a text module, you will use these header styles.
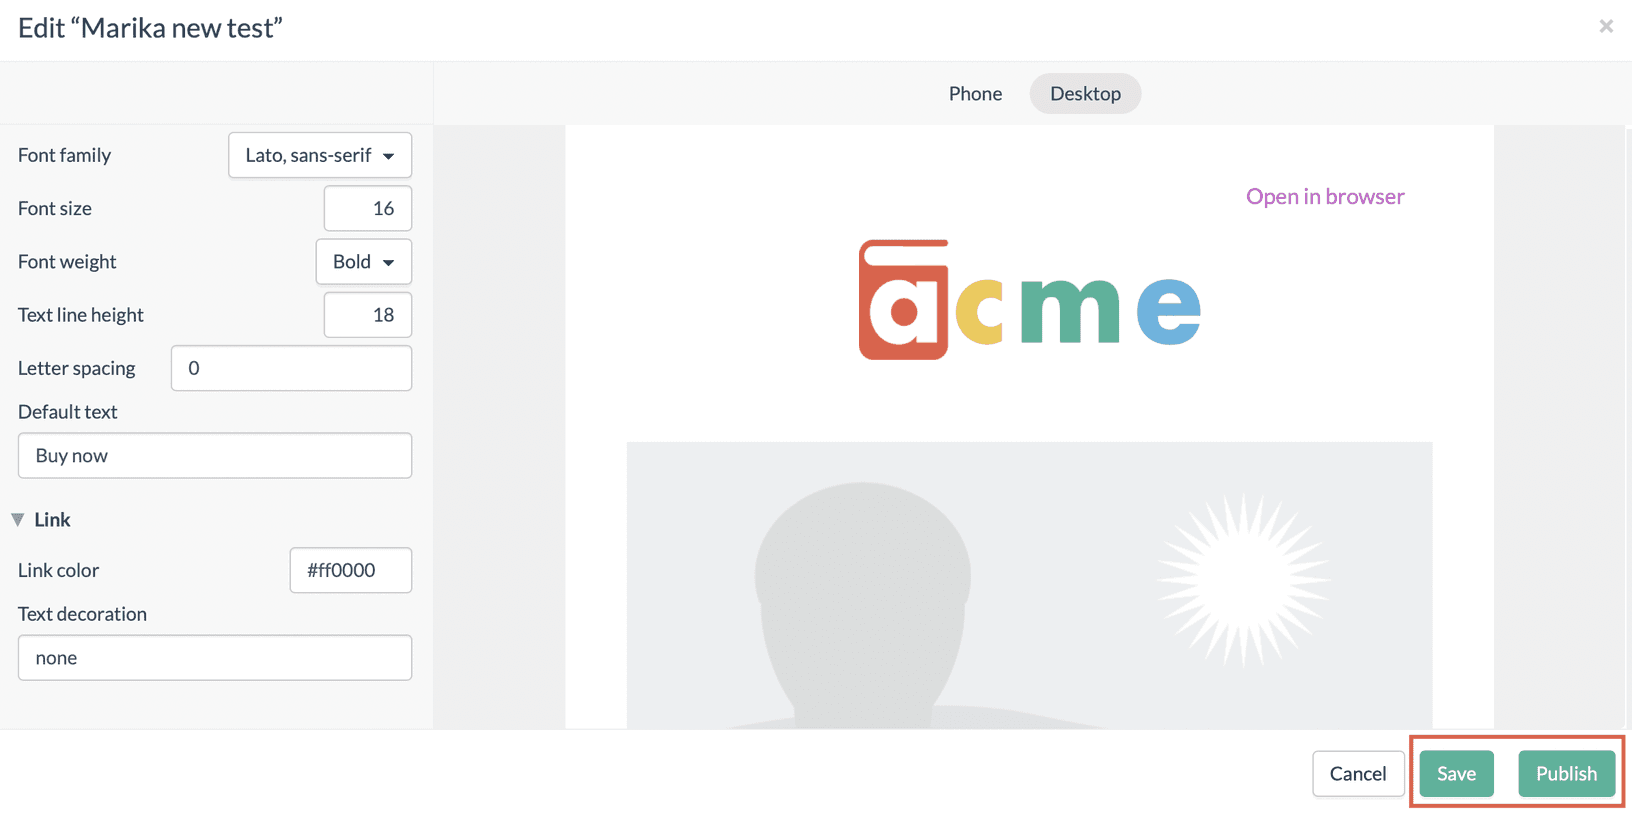
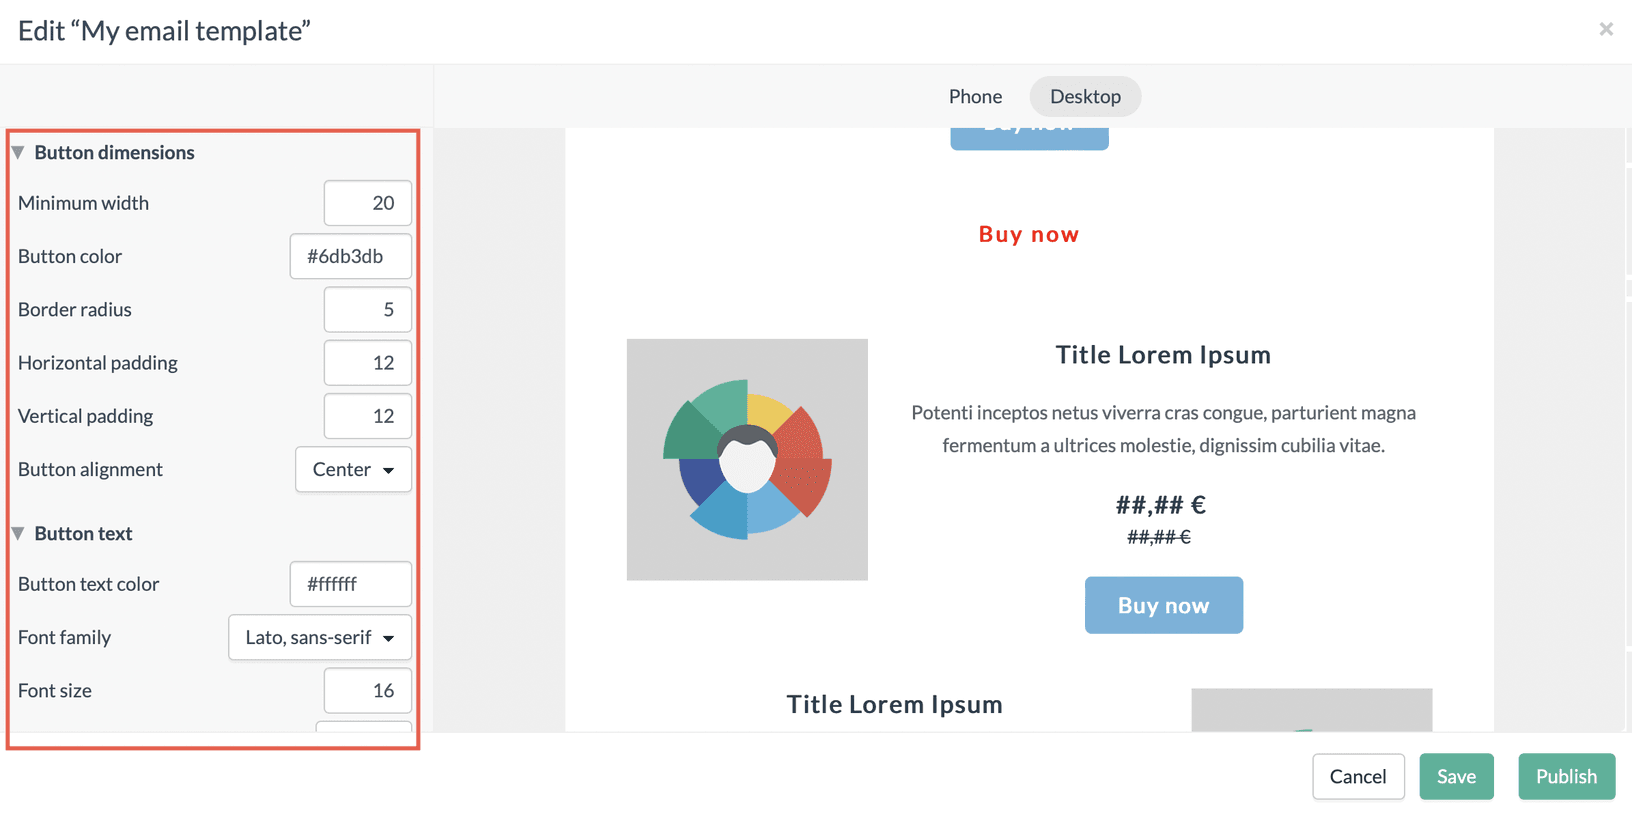
Next up is the buttons. In this section, you define the sizing and the layouts for all of your Call-to-action buttons.
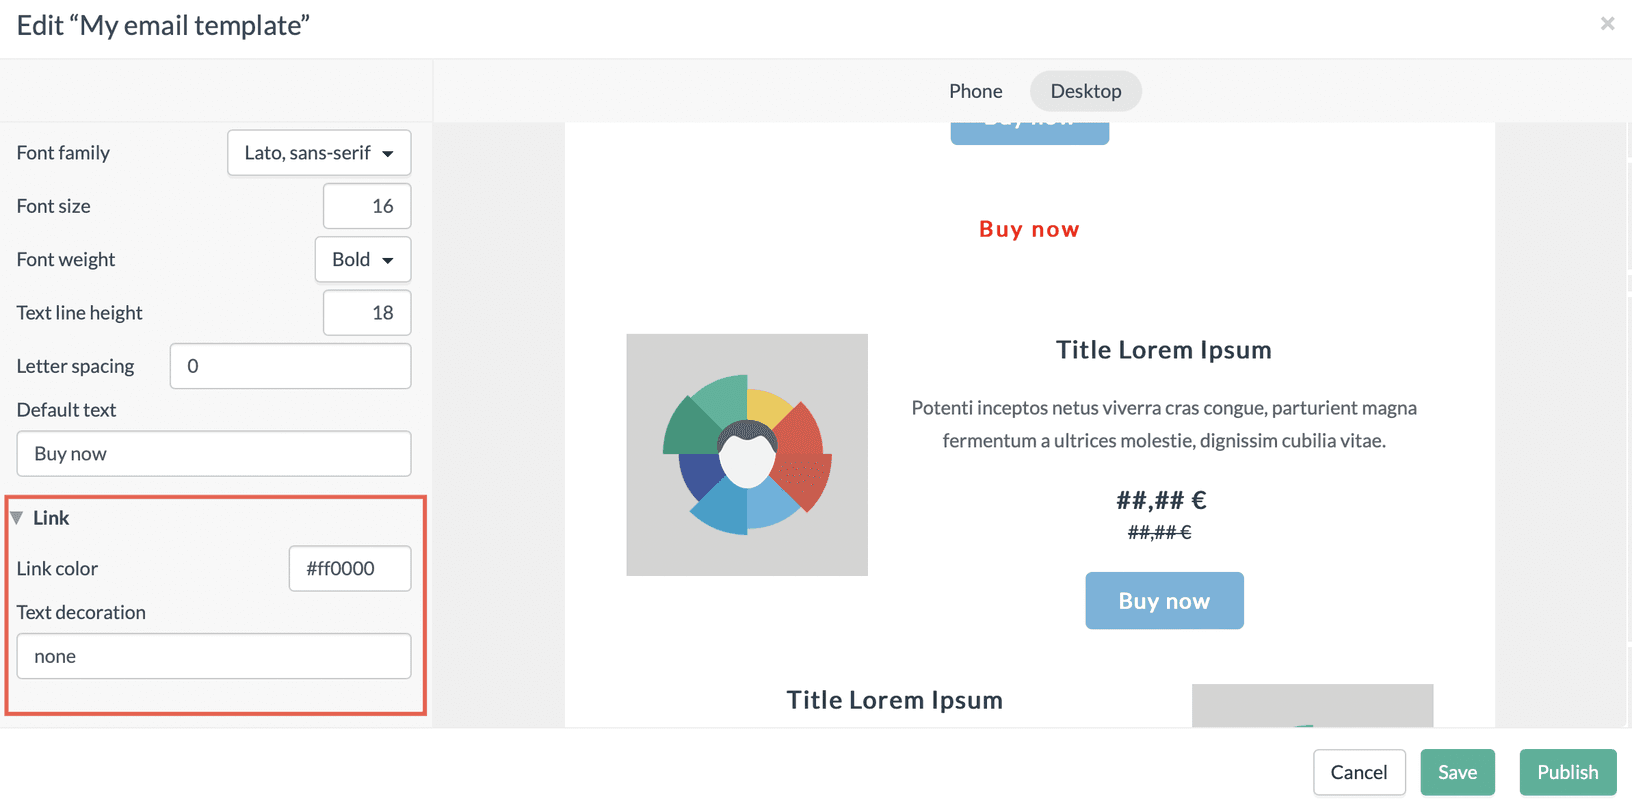
And lastly, you can define the appearance of links by changing their hex colour code or defining decorations.
When you feel ready with the template, you can go ahead and click on the Publish button. And while you build your template, you can always click on save to save your progress and continue later.