Custobar allows Facebook Ads audiences to be sent automatically from the Custobar platform to Facebook. This add-on will be paired with the already available Google Ads integration so you can have them both at the same price.
In this guide, we'll go through how to set up the integration in Custobar. If you would like to know more about the Facebook Custom Audience integration and its business benefits, please head to our blog.
The integration has been updated in June 2021. The old integration is titled "Facebook Ads (Legacy version)" and will continue working. However, in the updated version, you no longer need to reactivate the Facebook authentication token after 60 days. In the updated integration, the token stays active by default once it has been set up. You can take the new, updated integration into use by following the instructions below and setting up the updated integration again.
Accept Facebook's Custom Audience terms
You will be creating and updating Facebook's Custom Audiences with this integration. Accept Facebook's Custom Audience terms here for the integration to work.
How to set up the integration
Below you can find instructions in a text format. If you prefer watching a four-minute video instead, you can find it here. Whatever suits you the best! The content is the same on both.
To connect Custobar to your Facebook Ads Manager account, please make sure you have admin rights in Custobar.
Open the settings and click on Integrations in the Custobar user interface.
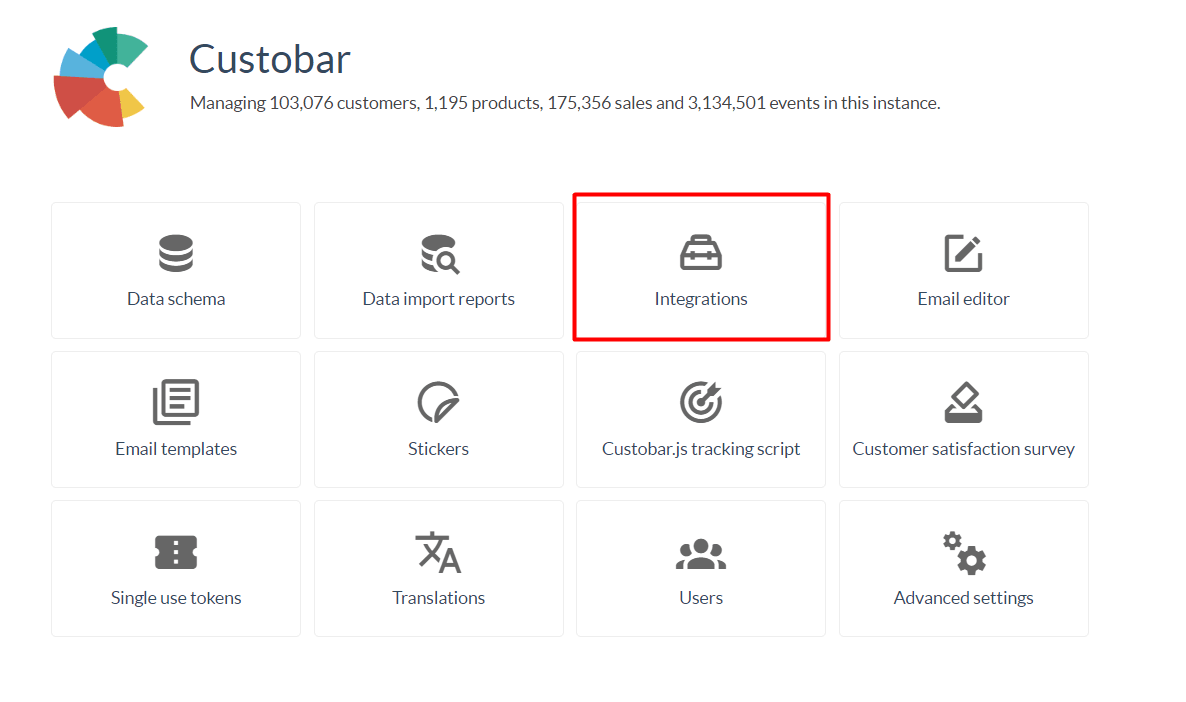
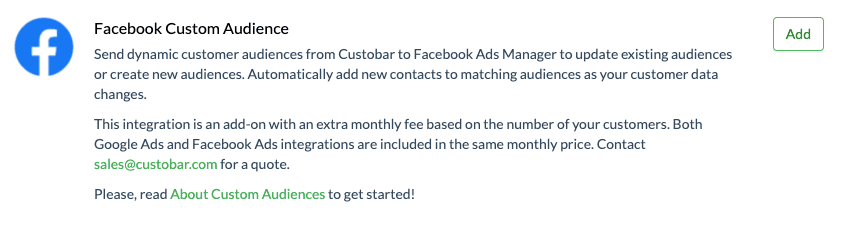
Scroll down to select the Facebook Custom Audience integration type and click Add.
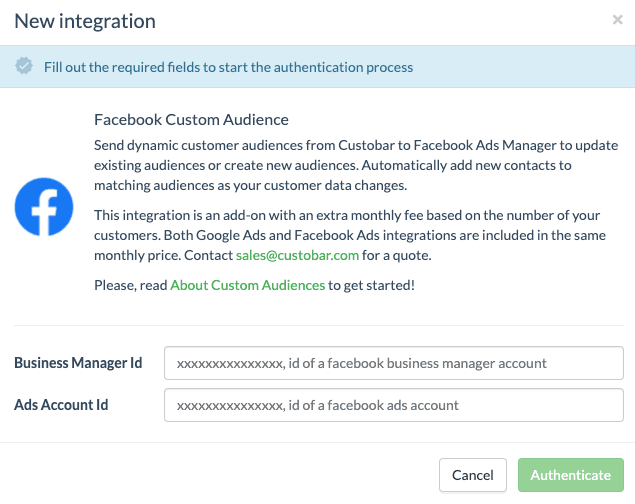
A popup will appear requesting your Facebook Ads ID and your Facebook Business Manager ID. At this point, you will need to authenticate to your Facebook Ads account.
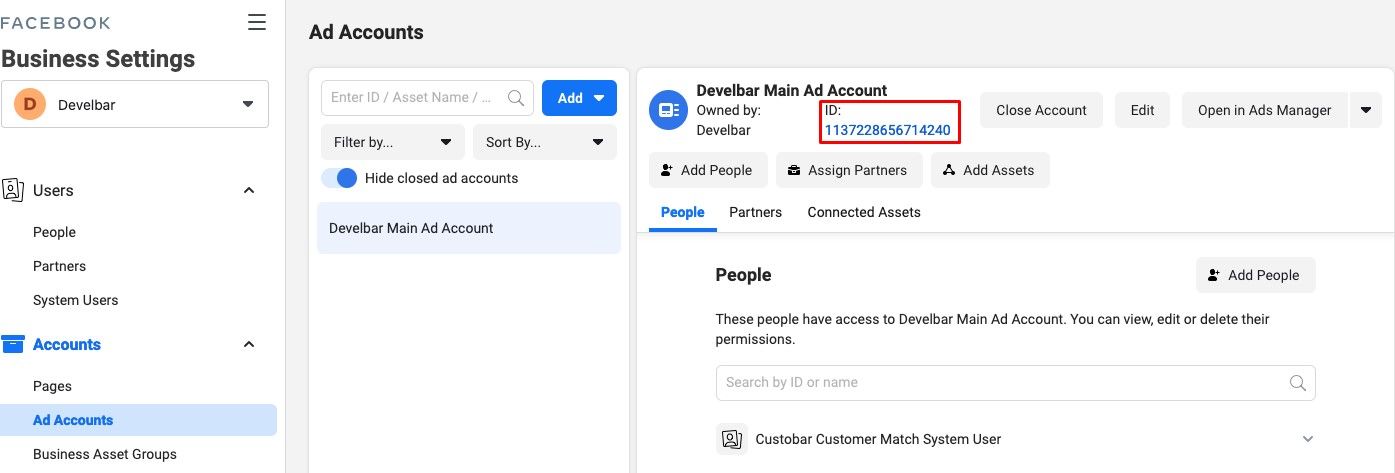
You can find your Facebook Ads ID and copy it to your clipboard under Business settings > Account > Ad Accounts.
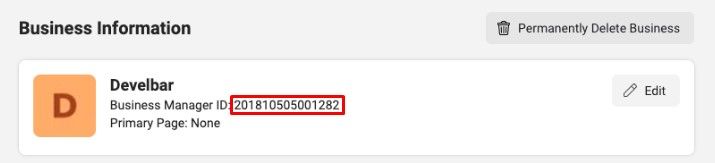
The Business Manager ID can be found under Business settings > Business info
The user who activates this integration also needs to have the ads account in his / her assets, more info on that can be found here.
Once the IDs are provided, the integration will automatically create an Outgoing data target using your Facebook Ads account. At this point, the setup is ready and does not need further action unless you want to stop using the integration.
You are now ready to send your audiences from Custobar to Facebook. This is done via a Push action or Push automation and the detailed steps can be found in this Push action guide. Simply select your Facebook Integration as the selected Outgoing data target.
Once the audience is sent from Custobar via activating the Push campaign, you will be able to see the matches appear for each custom audience on Facebook's side after a period of about 24 hours.
Pretty easy, right? But if you have any questions, we are happy to help! Please contact us at support@custobar.com.