You have two straightforward options: choose to discard queued messages immediately or let scheduled emails be sent as planned.
Step #1. Access your campaign deactivation settings
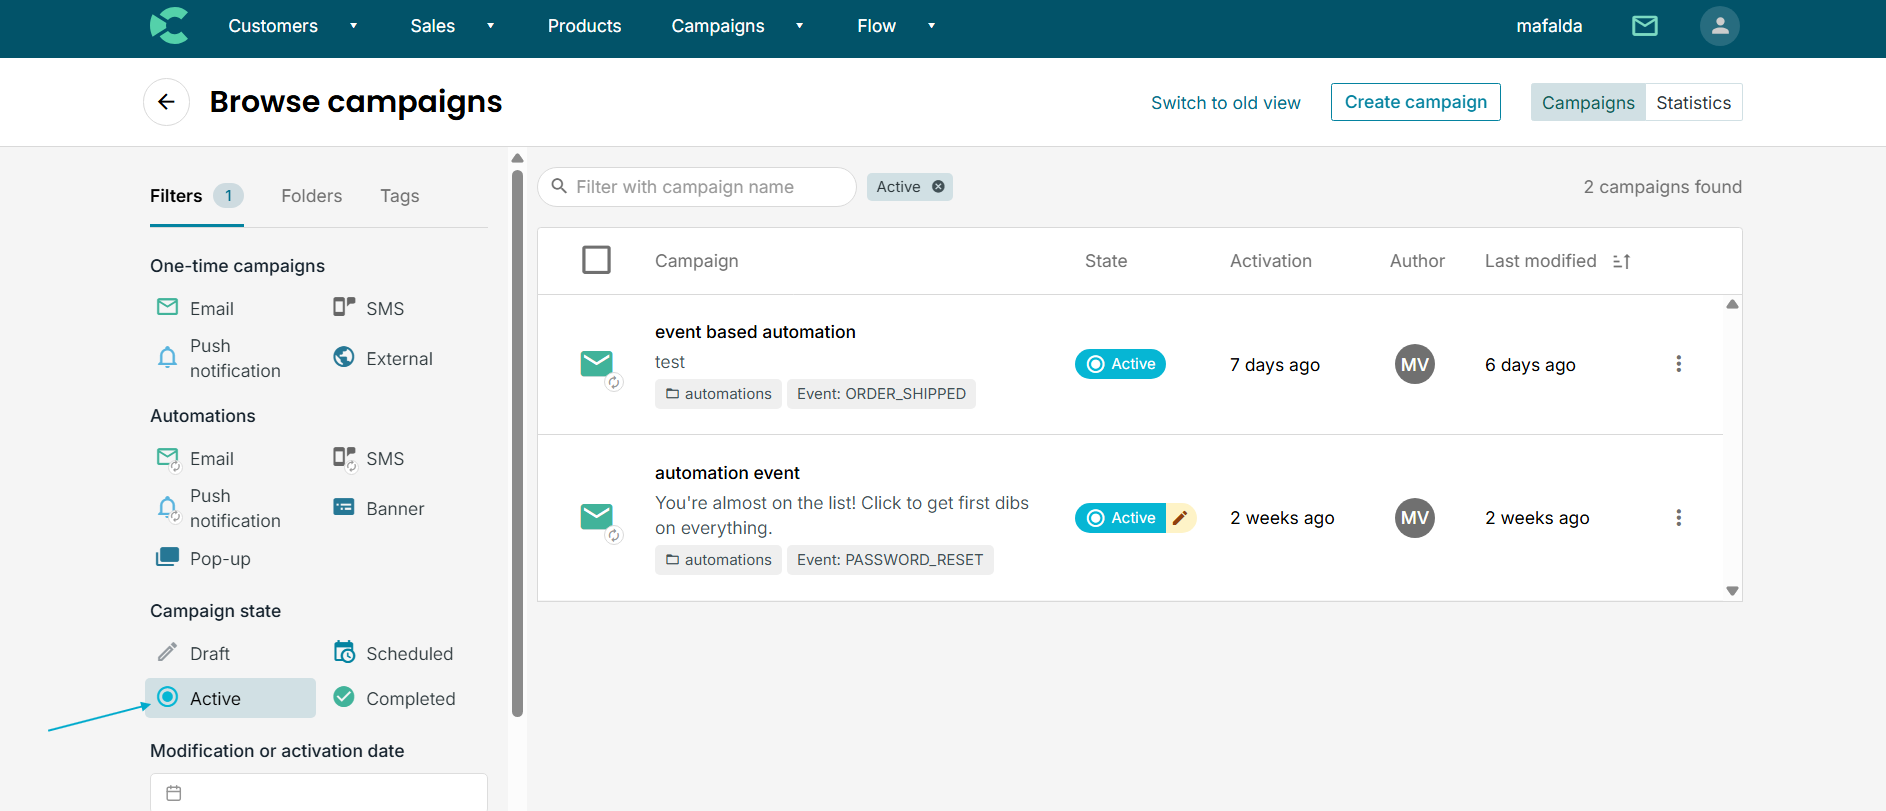
Navigate to your active campaigns dashboard and select the campaign you wish to deactivate or set as completed: Campaigns -> Actions (Beta) -> Filter Active at Campaign state
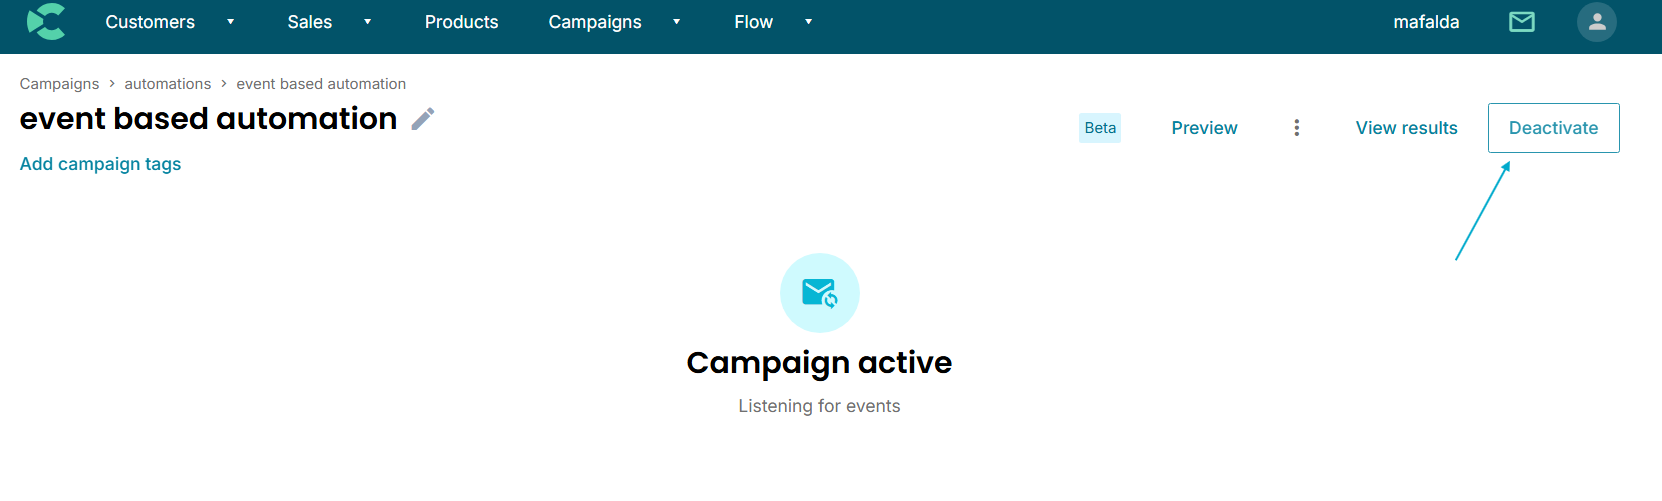
Click on the option to deactivate the automation to open the confirmation menu.
Step #2. Choose how to handle scheduled emails
Select your preferred action for any queued messages remaining in the pipeline from the two available choices:
- Discard scheduled emails: Choose this if you want to cancel all queued messages immediately.
- Let scheduled emails be sent: Choose this to allow remaining scheduled emails to go out as planned, even if the campaign is marked as completed.
Confirm your selection to apply the updated status.
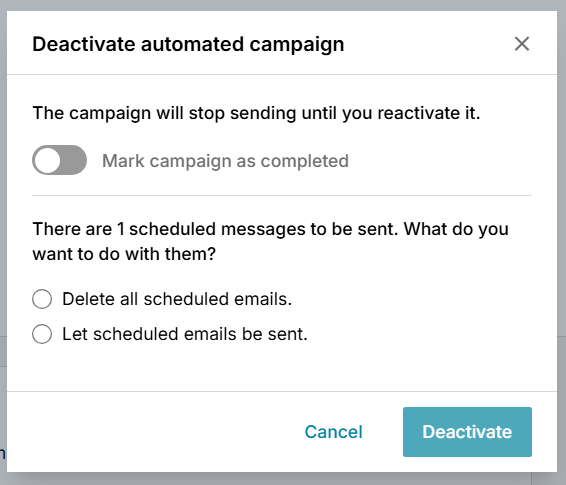
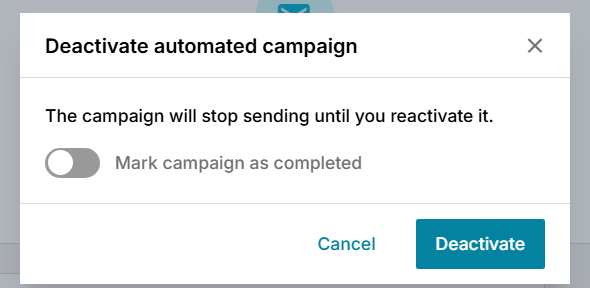
Note: The confirmation modal shown above will only ask how to handle scheduled emails if there are currently queued messages in the campaign pipeline. If not, the modal will be this one: